Running Fermyon locally
Thank you for trying out the local installer of Fermyon! This document will guide you through configuring Fermyon and all of its local dependencies on your local machine and deploying your first application to Fermyon.
This guide has been tested on macOS and Linux (including WSL2) — if you are encountering issues with this guide, or your operating system is not supported, please open an issue in the installer repository, and try out the AWS quickstart.
This local setup is intended for non-production workloads.
Setup
First, you need the following tools installed locally and available in your path:
Then, clone the installer repository and execute the script that configures Fermyon. This will start HashiCorp Nomad and Consul on your machine, which will then start the jobs for Traefik as the application proxy, Bindle for distributing Spin applications, and Hippo as the Platform-as-a-Service layer.
$ git clone https://github.com/fermyon/installer
$ cd installer/local
$ ./start.sh

Starting consul...
Starting nomad...
Starting traefik job...
  ✓ Deployment "21766858" successful
Starting bindle job...
  ✓ Deployment "836f2ecc" successful
Starting hippo job...
  ✓ Deployment "d00c4c0f" successful

Dashboards
----------
Consul:  http://localhost:8500
Nomad:   http://localhost:4646
Traefik: http://localhost:8081
Hippo:   http://hippo.local.fermyon.link

Export these into your shell

    export CONSUL_HTTP_ADDR=http://localhost:8500
    export NOMAD_ADDR=http://localhost:4646
    export BINDLE_URL=http://bindle.local.fermyon.link/v1
    export HIPPO_URL=http://hippo.local.fermyon.link

Ctrl+C to exit.
Depending on your network connection, this step can take about a minute to complete.
If everything is successful, you should see the links for the relevant dashboards and environment variables that need to be added to your current shell.
Deploying your first application to Fermyon
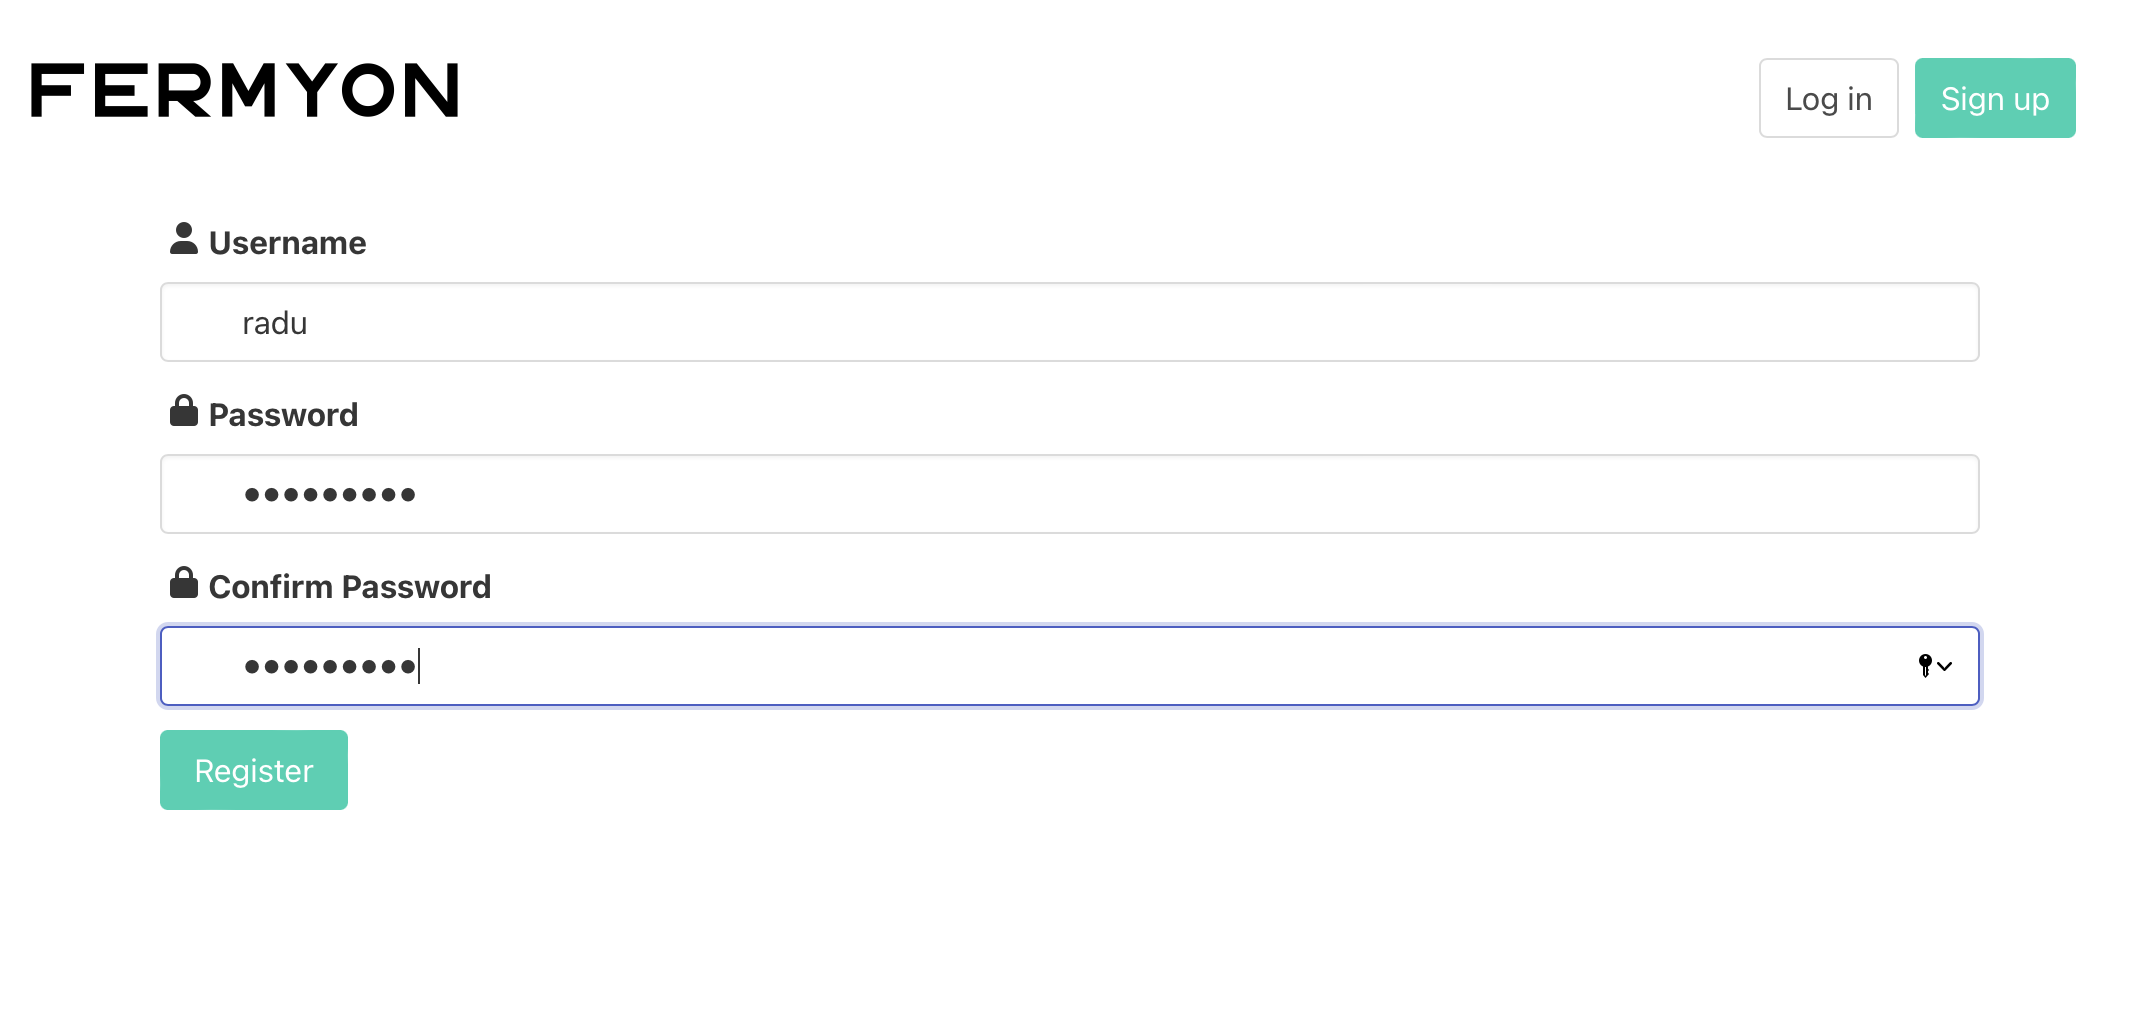
Now that everything is configured, it is time to create a new account by accessing the dashboard URL (hippo.local.fermyon.link):
Now, you can export the HIPPO_USERNAME and HIPPO_PASSWORD environment variables
in the terminal, and proceed to creating and deploying the first application (you may need
to run spin templates install --git https://github.com/fermyon/spin first if you just
installed spin and haven’t created applications from a template before):
$ spin new http-rust hello-fermyon
$ cd hello-fermyon
$ spin build
Executing the build command for component hello: cargo build --target wasm32-wasi --release
...
Successfully ran the build command for the Spin components.
The application has been built, and it is now ready to be deployed to Fermyon:
$ spin deploy
Successfully deployed application hello version 0.1.0!
Available Routes:
  hello: http://spin-deploy.hello.local.fermyon.link (wildcard)
Fermyon automatically configured the domain for the application, and the application now accepts requests:
$ curl -i http://spin-deploy.hello.local.fermyon.link
HTTP/1.1 200 OK
Content-Length: 14
Date: Thu, 16 Jun 2022 19:12:42 GMT
Foo: bar
Content-Type: text/plain; charset=utf-8

Hello, Fermyon!
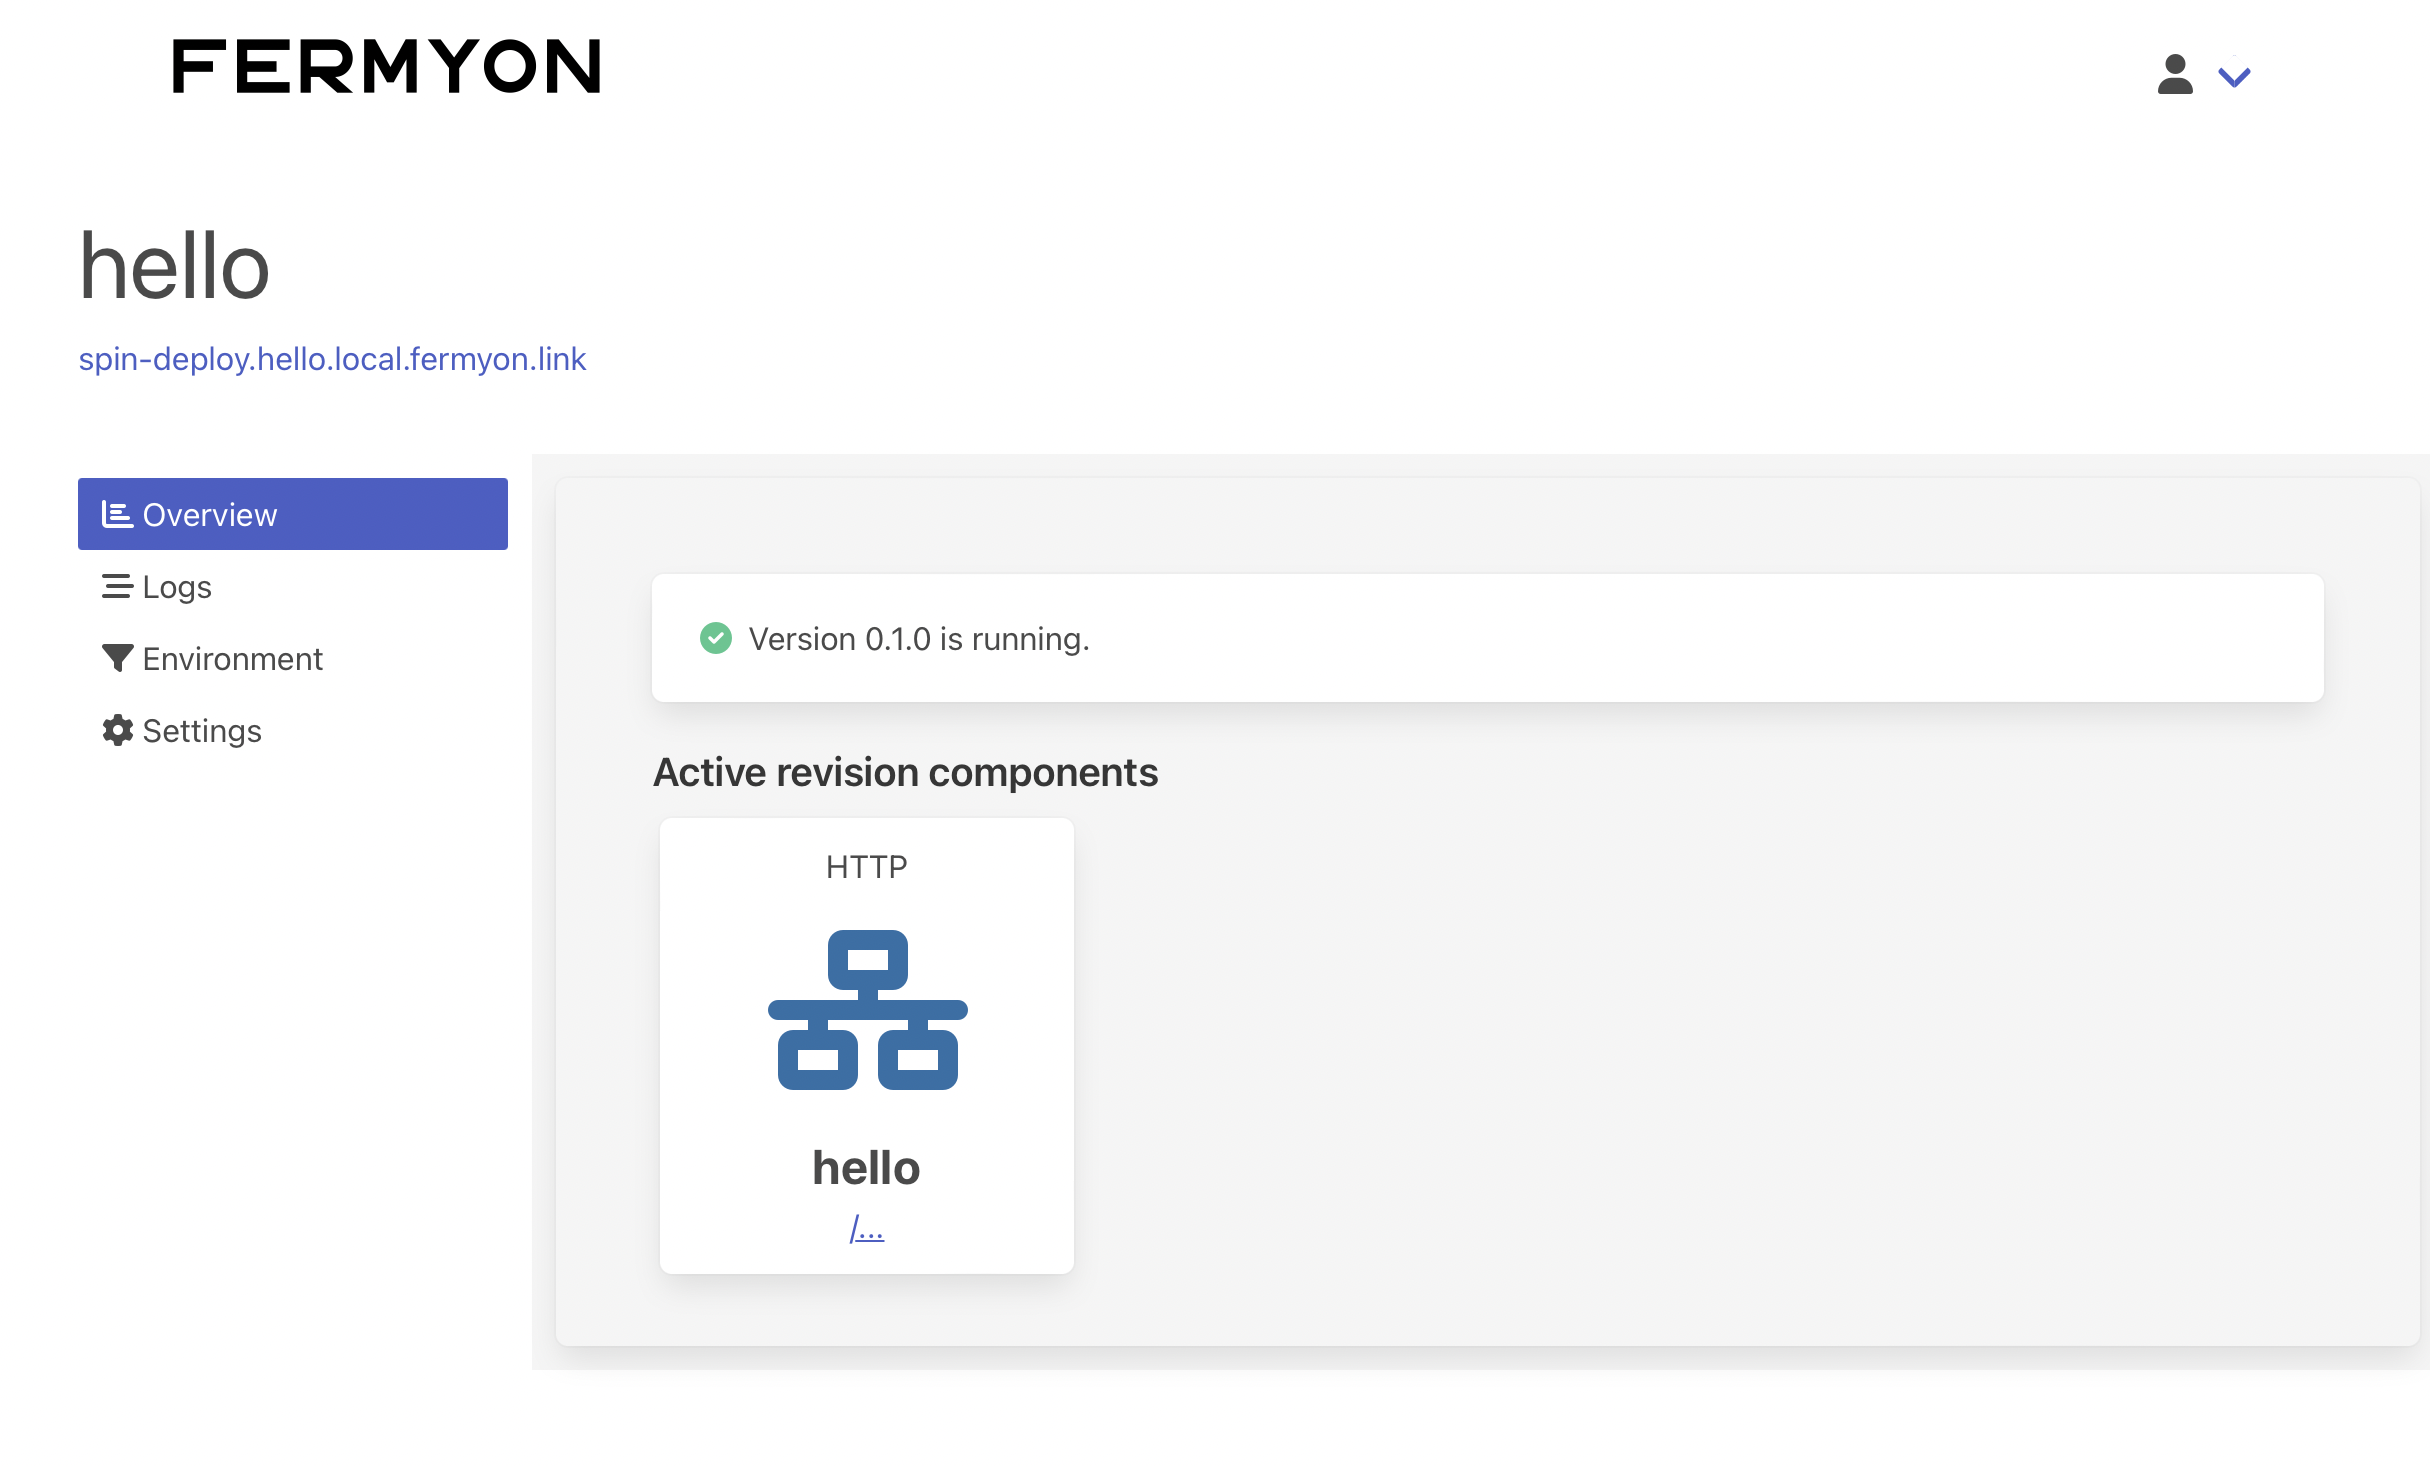
Accessing the dashboard again, you can see the details about the new application, view the logs, or change environment variables:
For a detailed guide on writing applications for the Fermyon platform, visit the Spin website.
You can now make changes to the application and run spin deploy again, or
create new applications.
Questions? Join our Discord server to discuss this project and connect with our team — or sign up to become an Insider, for announcements and early access invitations.